This guide will walk you through each step of making your own DIY wood wall with shelves. The instructions are simple, the materials are budget-friendly, and the end result is something you’ll be proud to share on Pinterest and beyond.
What Makes a DIY Wood Wall with Shelves a Great Choice?
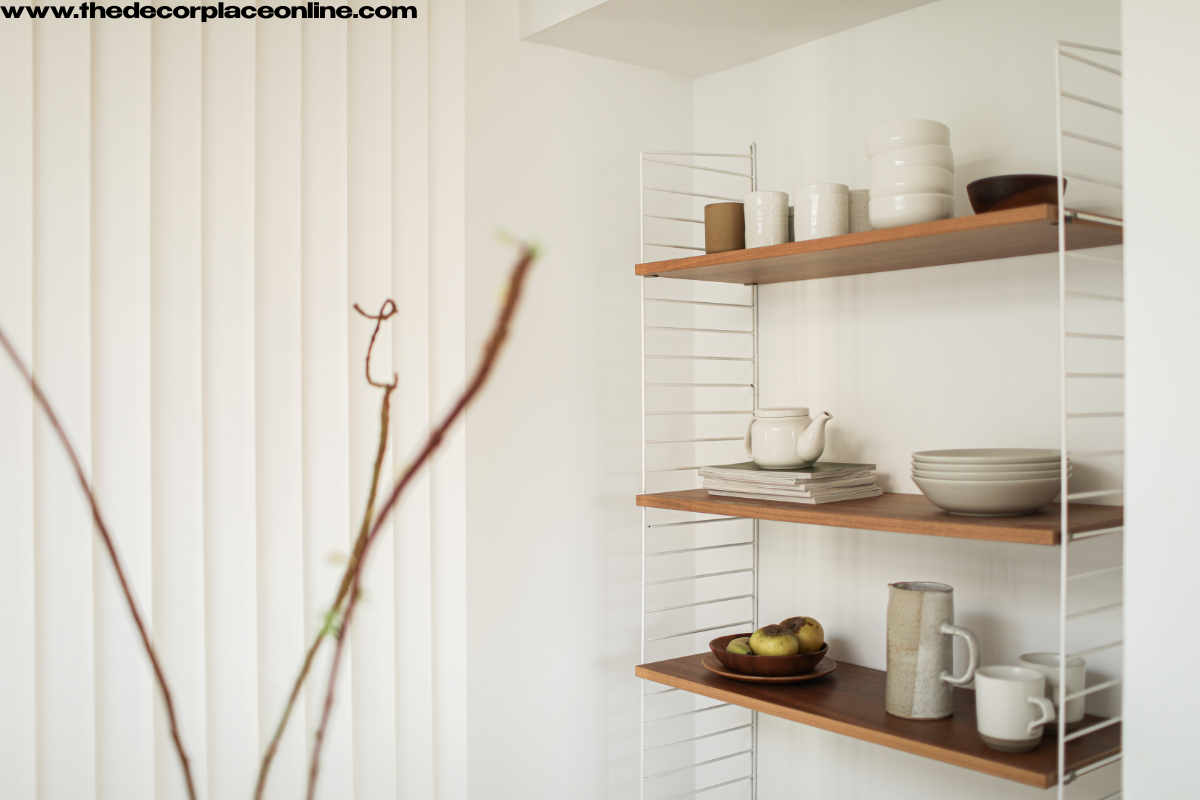
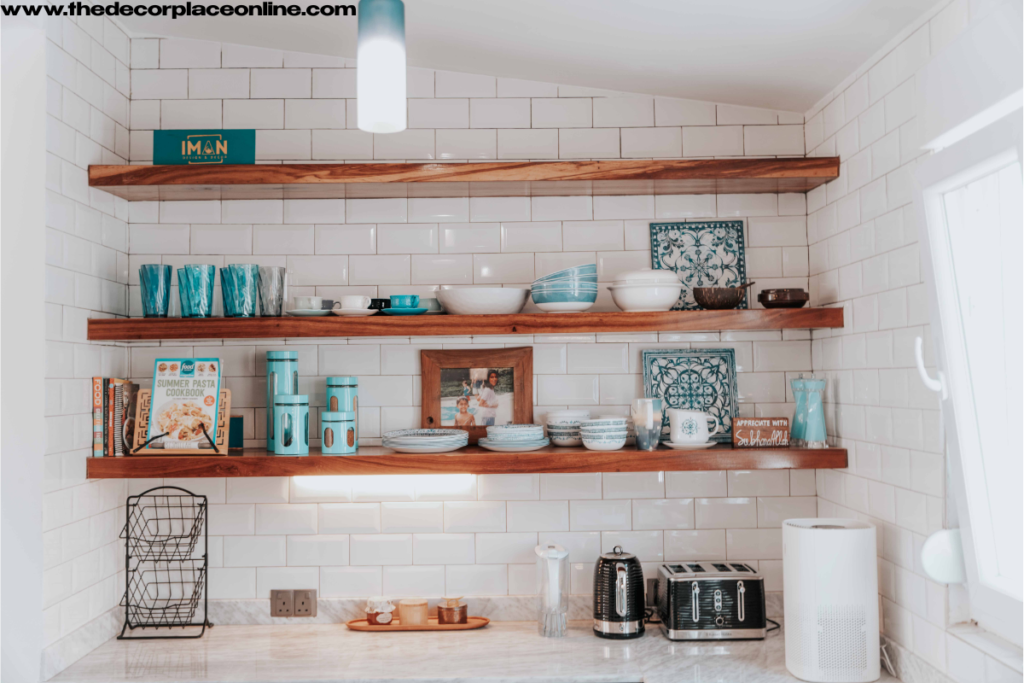
Adding a DIY wood wall with shelves gives your space instant character. It blends rustic charm with modern design, offering both a visual upgrade and useful storage.
You can pick from a variety of wood types—such as weathered boards for a vintage feel or smooth lumber for a clean, contemporary look. Once built, your wall becomes the perfect spot to showcase books, plants, artwork, and decor that makes your home feel truly personal.
Getting Started: Planning Your Wall
Before you start building, take some time to plan things out. Think about where your DIY wood wall with shelves will go. Will it highlight a blank wall in your living room? Create a cozy corner in your bedroom? Or maybe make your entryway more welcoming?
Measure the area and sketch out a basic design. It doesn’t need to be fancy—just a quick drawing to help you picture the layout. Choose wood that fits your style and budget. Stain or paint it in colors that match your room’s vibe. Lighter tones brighten things up, while darker stains add depth and warmth.
Materials and Tools You’ll Need
You don’t have to be a professional or buy expensive equipment to build a DIY wood wall with shelves. Most materials can be found at a local hardware store. Here’s what you’ll need:
- Wooden boards or panels
- Shelf brackets or floating shelf mounts
- Screws and wall anchors
- Power drill and screwdriver
- Measuring tape and level
- Paint or wood stain (optional)
- Sandpaper
- Stud finder
If you already own some of these tools, your total cost drops even more. This is a great way to get a high-end look without the high-end price.
Step-by-Step Instructions
Let’s go over how to build your DIY wood wall with shelves in simple steps:
Step 1: Prep the Area and Materials
First, clean the wall where the wood will go. If you want to repaint the room, now’s the time. Then sand your boards to make them smooth. Apply stain or paint and allow them to dry completely.
Step 2: Find the Studs
Use a stud finder to mark where the wall studs are. This is important for attaching both the wood and the shelves securely.
Step 3: Install the Panels
Start from the bottom and work your way up the wall. Use a level to make sure each board is straight before securing it with nails or screws. For extra hold, add construction adhesive if desired.
Step 4: Mount the Shelves
Plan where your shelves should go and mark the positions. Check each one with a level to ensure they’re even. Attach your brackets or supports firmly into the studs, then place the shelves on top and secure them.
Step 5: Add Your Decor
Now that everything’s in place, decorate your shelves with your favorite items. Try mixing books, plants, candles, and framed photos. Vary the height and texture for a more dynamic and inviting look.
Smart Ways to Stay on Budget
Building a DIY wood wall with shelves doesn’t mean emptying your wallet. Try these tips to cut costs:
- Reuse wood you already have or buy secondhand
- Look for deals on brackets at thrift shops or online
- Borrow tools if you don’t own them
- Focus on a smaller wall section to use fewer materials
With a little creativity and effort, you can get impressive results without spending a lot.
Ideal Spots for a Wood Wall with Shelves
A DIY wood wall with shelves fits beautifully in almost any room. Here are some ideas:
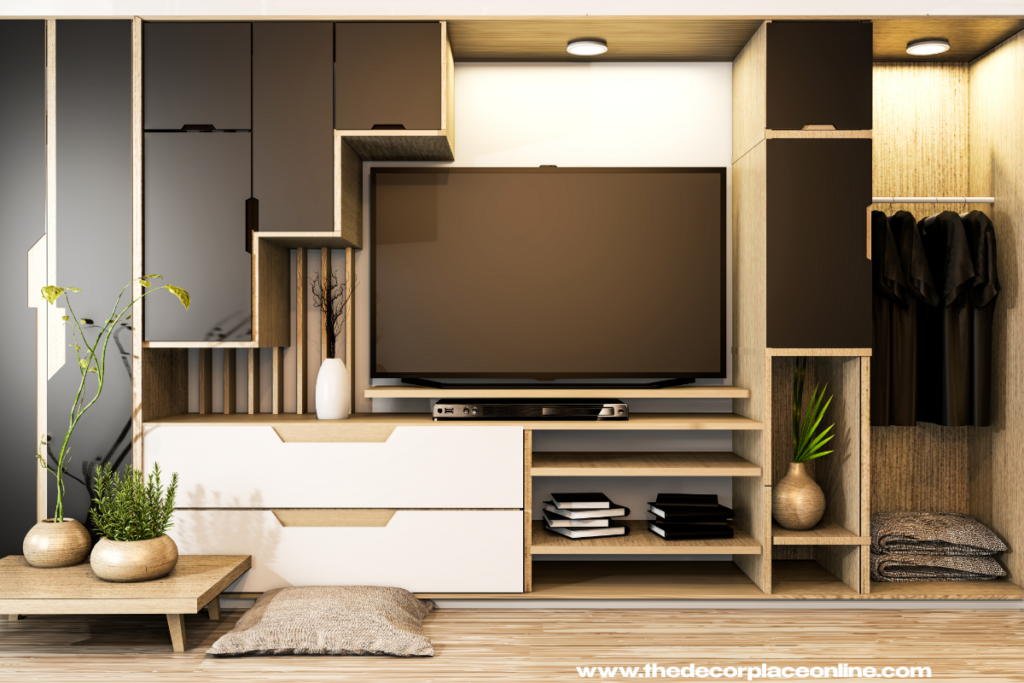
- Living Room: Frame your TV or couch area with shelves that display decorative pieces.
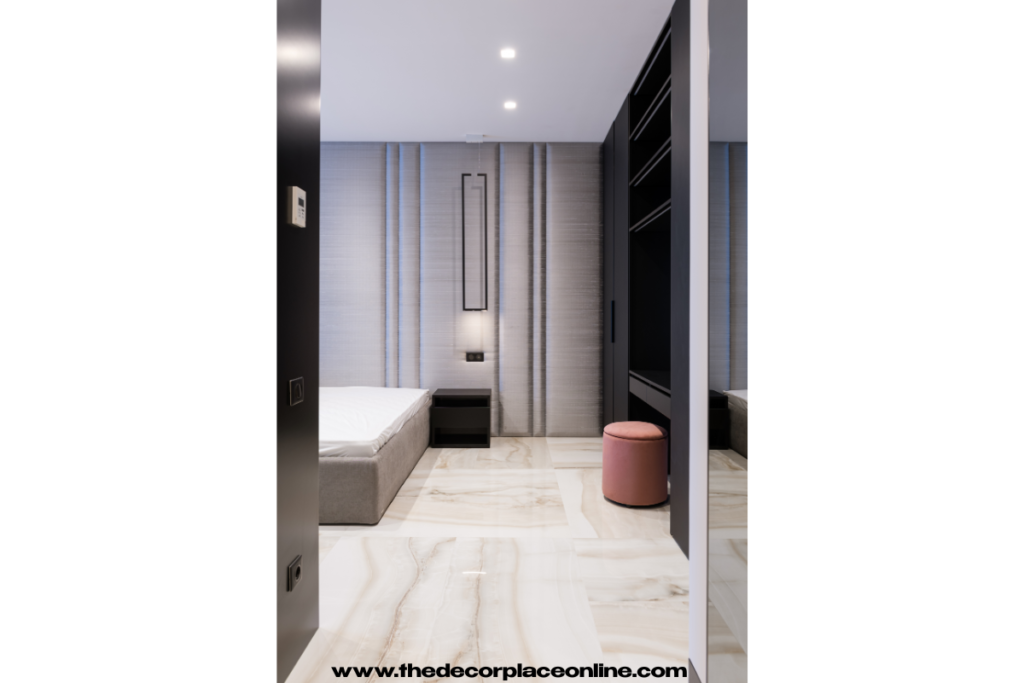
- Bedroom: Add warmth behind your bed with wood panels and floating shelves.
- Office: Store your supplies neatly while enhancing your workspace decor.
- Entryway: Welcome guests with stylish storage for keys, mail, and greenery.
Adapt the colors and layout to match the personality of each space.
Keeping It Looking Its Best
Once your DIY wood wall with shelves is complete, maintenance is easy. Dust your shelves often and wipe the wood with a soft, damp cloth. Avoid abrasive cleaners that might damage the surface.
If a shelf loosens over time, a quick screw tightening will do the trick. With a little attention, your new wall will keep looking fresh and fabulous.
Final Thoughts
Taking on a DIY wood wall with shelves is a great way to elevate your home decor without overspending. It’s an easy project for beginners and delivers both beauty and utility.
Whether you’re displaying favorite memories, organizing everyday essentials, or simply making a blank wall more interesting, this DIY idea is practical and stylish. You’ll love how it transforms your space—and the sense of accomplishment that comes with doing it yourself.